Step 1
Identify switches
For each light point, identify the type of switching. Then you know in the following step how to replace the traditional switches with connected switches (and traditional push buttons).
Note: Here is a list of the most common switching with the current Niko switches (in the range since 2006). These examples can also help you when replacing older switches or products with another brand. The surface-mount may well be different in that case and the connection terminals may be in another place.
Start by determining the number of control points (switches) for the light point. If you wish to replace a switch with two buttons, consider the situation per button:
- How many control points (switches) are there for the light point that you are commanding with the left button?
- How many control points are there for the light point that you are commanding with the right button?
One control point
Single-pole switch
Two connection terminals
Two-pole switch
Four connection terminals
-
These days a two-pole switch is no longer necessary, due to the mandatory 300mA leakage current switch and 16A fuse in the electrical cabinet. In the past, the two-pole switch was used, for example, in damp rooms.
You can always replace a two-pole switch with a connected single switch, provided there is a 300mA leakage current switch and a 16A fuse.
Warning: A two-pole switch in a mixed circuit with socket outlets will generally be fused with 20A. In that case you must also replace the fuse.
Two control points
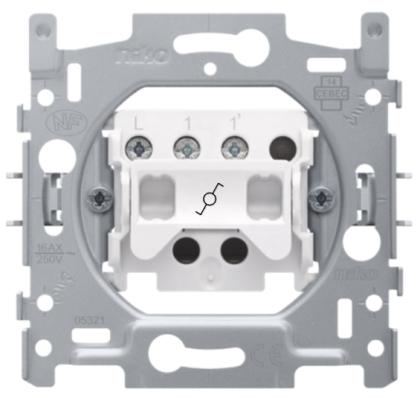
Two-way switching
Two two-way switches with three connection terminals
Three or more control points
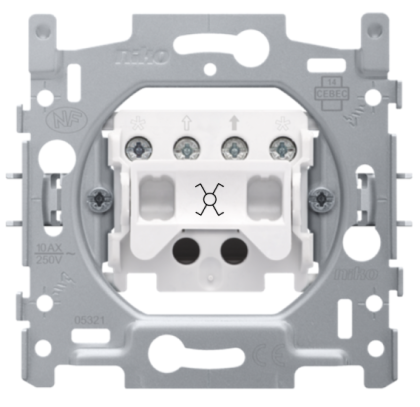
Intermediate switching
One or more intermediate switch(es) with four connection terminals, always in the centre of the circuit
+
Intermediate switching
Two two-way switches, always at the far ends of the circuit


