Step 4
Finish installation of dimmer
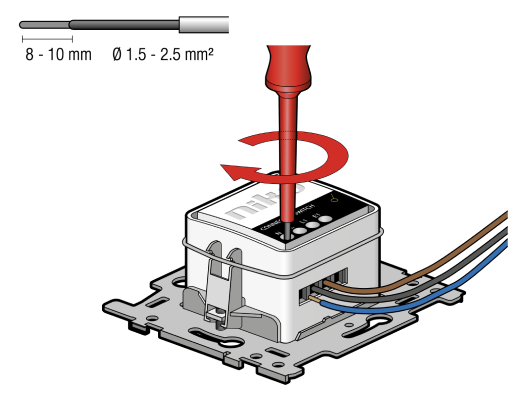
A
Connect the wires as shown in the wiring diagram on the previous page.
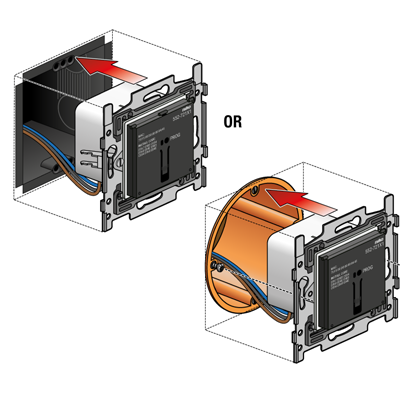
B
Attach the dimmer in the wall. When attaching in a hollow partition, you must remove the claws and fix the dimmer in the right position with screws.
C
The dimming profile of the connected dimmer is set by default to profile 5. In most cases, these standard settings are sufficient. If you are not completely happy with the minimum dimming or if you notice that the lamp flashes, follow the instructions in the manual of the connected dimmer.
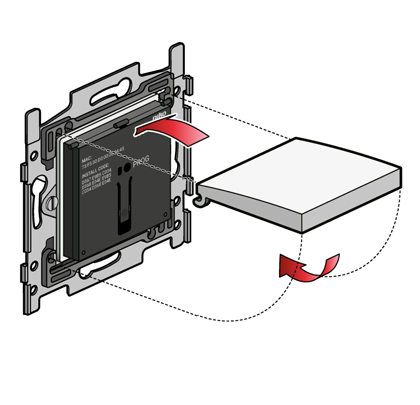
D
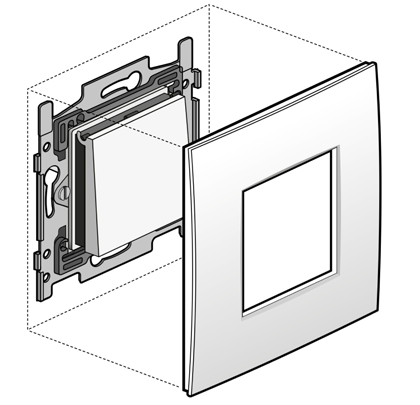
Place the finishing set (bought separately) on the dimmer.
E
Install the central plate (bought separately).
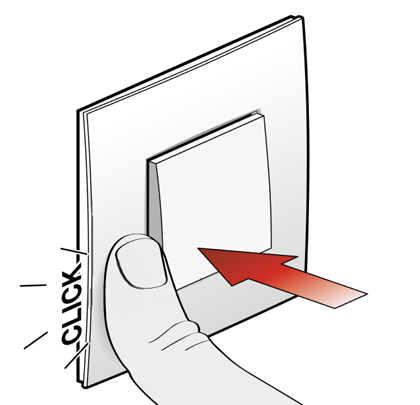
F
Click the central plate onto the dimmer.